Lightroom

💥 Solving a LIGHTROOM Preset Headache ( Lightroom and Classic )

The Adobe Lightroom Community is a great resource for Lightroom Presets but how do you get them? How do you install them? How do you install them into Lightroom and / or Lightroom Classic?

In this short video I show exactly what you need to do …

Here’s the link to the Adobe Community PAge where you’ll find the Preset that I’ve made available:

https://lightroom.app.link/B4mq80BlSIb

Download my Minimal Teal and Orange Preset for Lightroom and Camera Raw

If you’re a Lightroom Classic , Lightroom or Photoshop / Camera Raw user ...

I have just added the finishing touch steps that I used on the recent portrait of my friend Steve Healy onto the Adobe Lightroom Community Page so that you can save as a preset, download and install to use ... and adjust settings to taste.

Just use this link: https://lightroom.app.link/B4mq80BlSIb

KelbyOne Lightroom Conference Coming in April 2024

Very excited to be part of the KelbyOne Lightroom Conference 2024 this coming April 16th and 17th …

I’ll be presenting 2 classes, both of which are connected in that the first class I show all the preparation, planning, lighting and photogtraphy for a photo shoot. So, I’ll be covering the researching the concept, visiting a clothing and props provider to the TV and Movie Industry, working with the model, stylist, the set and finally the shoot.

In the 2nd class I’ll then go through the entire retouching process from importing the cpatured images into Lightroom and then step by step working through the retouching making use of Lightroom and Photoshop, and then finally a print.

VERY excited to show this becuase it means working on something completely new; a portrait that doesn’t form part of a series but a portrait I’ve wanted to work on for a while, so to be able to show the entire process will be great!

To find out more about the Lightroom Conference and to take advantage of Early Bird pricing, click / tap on the button link below.

Grab my FREE Lightroom Presets from the Lightroom Community

So recently I wrote about these 2 images that I captured over the past few weeks …

I edited both images in Lightroom so what I’ve done is make all of the editing steps donwloadable as a Preset that you can use in Lightroom and / or Camera Raw.

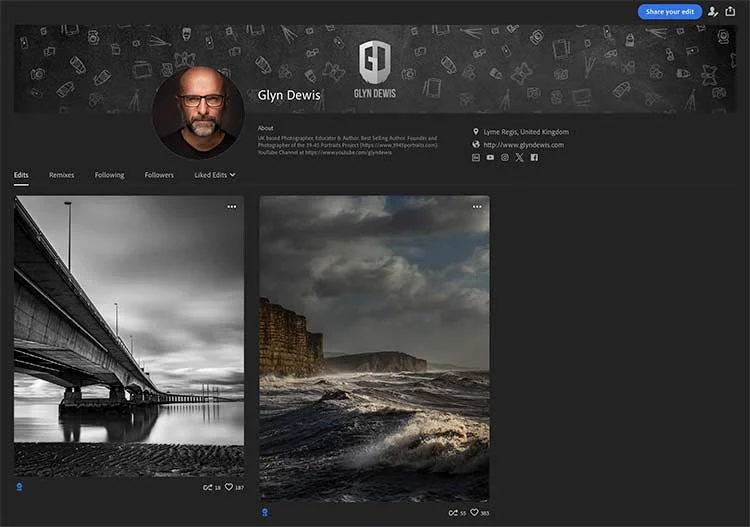
You can see the editing steps for both of these images in the Lightroom Community, so if you’d like them as a Preset I’ve written out the steps below …

STEP 1

Click on the link below to got to my Profile Page on lightroom.adobe.com

STEP 2

Click on each image in turn and choose Save as Preset on the far right of the screen

STEP 3

Give the Preset a name. Choose which edits you want included and then press Save

STEP 4

This Preset will now be saved in Your Presets in a Saved from Community folder in your Lightroom.

STEP 5

If you also want this Preset to appear in your Lightroom Classic / Desktop, simply Right-Click on the name of the Preset and choose Export.

You can then import the Preset File into Lightroom Classic.

Is LIGHTROOM the FUTURE WORKFLOW for PHOTOGRAPHERS???

In this recent LIVE Broadcast which went out on YouTube and Facebook, I chatted with Brian Matiash about Lightroom (known affectionately as the Cloud Version) and how it has changed fairly recently introuding local storage in addition to cloud storage.

Brian is an early adopter of using Lightroom exclusively for his workflow so I thought it would be good to hear what the potential workflow would mean and what switching to Lightroom would mean for someone like me that is a Lightroom Classic user.

There were already a few things I knew weren’t in Lightroom, which probalby out of all of them were the reason I hadn’t started using it ‘in anger’ , but up until fairly recently it was the fact that it was purely a cloud based storage workflow …

Brian did a great job talking through the ‘cloud-only’ workflow ; a workflow that would definitely suit some people, so that was great to see; it isn’t a workflow for me however, but then workflow is very much a personal thing.

With cloud-only comes the issue of the amount of storage and the cost of that storage, which in my opinion at the moment, Adobe’s pricing is a bit on the excessive side … especially when you kind of compare it to something like the cost of BackBlaze BackUp with unlimited storage costing me $84 or pretty much £66, for the year!

I’m also one for keeping all the layers in files and keeping hold of images I don’t use and at the moment I currently have around 6TB of data.

There’s also internet speed to consider.

If I was to go out and shoot a portrait with my 61MP Sony A7RIV, I could potentially end up with quite a few images which from that camera would mean a considerable amount of data.

Uploading this to the cloud would be ok if I was at home as we do have very fast 1Gb Broadband, BUT anything less than this would take a considerable amount of time. I couldn’t and wouldn’t go cloud only, but would instead use the local storage as I do now and only sync my ‘keepers’ in a portfolio on the cloud.

However … this I already do with Lightroom Classic.

All of my image files are on Hard Drives and I have several portfolios as Collections which are synched with the cloud meaning I can view them on my iPhone, my iPad … or even another computer.

The conversation with Brian and seeing the Lightroom workflow I genuinely found interesting and educational BUT for me, certainly for now, unless Lightroom functionality with what I mention above and other stuff that was mentioned by others watching LIVE yesterday and have commented since, were implemented.

That said … just giving Lightroom Classic a bit of a face lift and making it a bit quicker would make me happy.

But, if I’m being totally honest … I don’t get why 2 separate versions were made in the first place.

HOW I EDIT theseiPhone Photographs in Lightroom

This is a recorsing of a LIVE Stream that I hosted on YouTube and Facebook on Sunday 29th October 2023 …

Join me for this LIVE stream as I go through the editing step sin Lightroom of some iPhone Portrait and Seascape photographs taken during a recent North Wales Road Trip …

***NOTE: The LIVE Feed cut off moments before the end of the broadcast however all relevant content was covered and all mentioned links are in the video description

Movie Inspired Portrait in the Mountains of Wales

So last week I met up with my mate Anthony Crothers just outside of Cardiff, Wales and then we both headed to Newport in Pembrokeshire.

It was there that I’d arranged to meet up with Dai O’Toole ; a friend I’d not seen since my 39-45 Portraits Project Exhibition at the Soldiers of Oxfordshire Museum back in November of 2019.

We’d always kept in touch but this was the first time we’d caught up in person since, and this was all motivated by me having seen Dai mention about a Trek he was soon to be embarking on called the GR54 ; a 120 mile trek in the French Alps which takes in elevation of 12,500ft 😳

Hearing this and his motivation for doing so, I got in touch saying that I’d love to take his portrait on location and record a short chat with him about it all … needless to say , we were ‘Game On’

Meeting up in Newport, Pembrokeshire after some long overdue man-hugs, armed with a small amount of kit we all headed off on what Dai would call a stroll, up nearby Carn Ingli ; a mere 1500ft above sea level 😃

( Left to Right ) Anthony , Dai and Yours Truly

With no need to rush, we took our time making our way to the top whilst chatting , laughing and chatting and laughing some more whilst stopping regularly to take in waht can only be described as spectacular views.

I cannot stress enough how enjoyable and uplifting this was and it didn’t take much to understand why Dai goes out trekking every week.

Once at the top and in between repeated cries of “WOW” , with the help of Anthony on lighting, I took a series of full length portraits of Dai.

The main image from this I’m currently working on but with regards to kit, this is what I used …

Due to the winds on top of Carn Ingli I decided not to take a softbox but as there was a lot of cloud cover and consequently soft light, this I needed to match on Dai.

The solution was to take along the 45 Degree Deep Focus Reflector

This would help to give more control over the light, add an extra stop of power but also by aiming it slightly off Dai, the outer softer area of the light would light him. The result … soft light from a modifier that would ordinarily produce a hard light source.

Of course using the outer area of the light isn’t as powerful / strong but for this combined with the Fj200 and conditions on the day was more than adequate.

I was also shooting tethered into my iPad using a TetherTools USB-C to USB-C cable directly into CaptureOne Mobile; shooting tethered does not get simpler and it works an absolute treat!

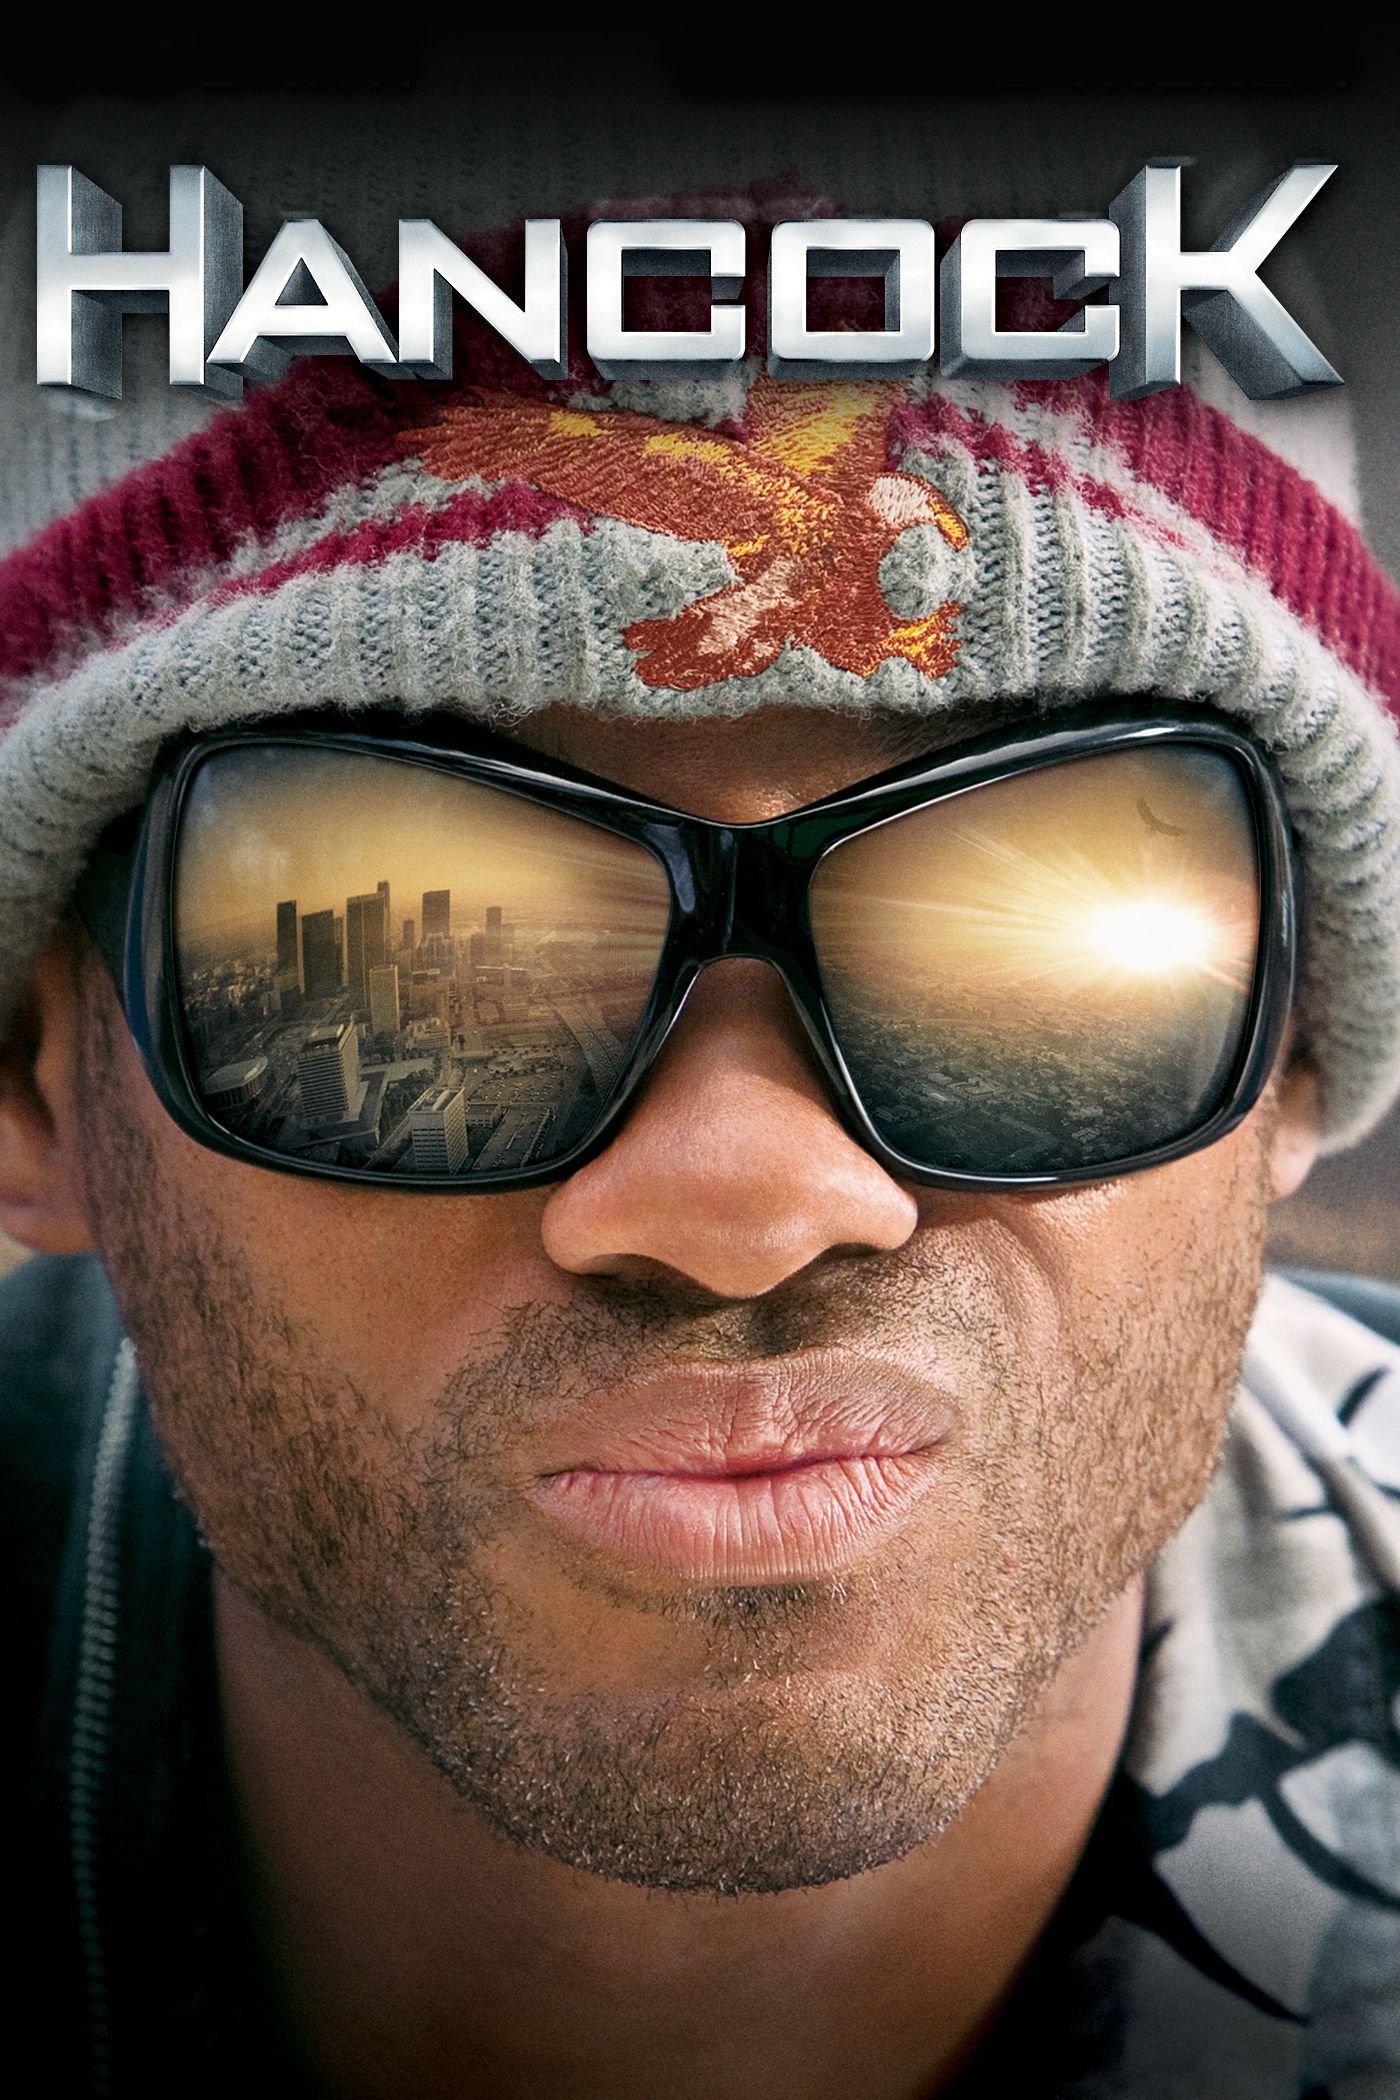
Having finished on ‘the top’ we made our way down ( not quite so direct as the way up mind you 🤣 ) and after grabbing a coffee and chatting more and more, we headed back to the cars which is where I wanted to take a headshot portrait of Dai for an idea I had, inspired by the original ad for the movie Hancock starring Will Smith …

To control the light on Dai I opened the boot of my car and had him sit on the bumper.

Doing this reduced the light from above , behind , and to his right hand side ( camera left ) resulting in an obvious and controlled direction of light rather than his head being evently lit in all directions.

Using my Sony A7RIV on a tripod and my 85mm G-Master lens I took a series of headshots with Dai simply looking straight down the lens but now wearing some fantastic reflective and tinted sunglasses.

I tried a few shots using the FJ200 in the Rapid Box Switch Beauty Dish and bouncing some light onto a reflector which Dai held horizointal to the ground in front of him to bounce some light up onto his chest and beard.

However, I ended up going with the natural light as positioning Dai on the rear bumper under the car boot lid produced superb light with great direction.

These were the dialled in settings:

  • Manual Mode , f/4.0 , 1/125sec , ISO 160

And this is the final retouched portrait …

Genuinely loved every minute of this …

Getting to hang out and have a mini road-trip with my mate Anthony Crothers , catching up with and photographing Dai , working on the edit and to top it all, being out and about in the fresh air surrounded by stunning scenery.

What’s not to love about that?

Cannot wait now for the next adventure!

100 MEGA PIXEL Female Portrait PLUS Retouching in Lightroom and Photoshop (Hasselblad X2D)

Here’s the recording of a recent LIVE Broadcast I hosted over on my YouTube Channel where I went through the lighting and retouchingsteps of a female portrait PLUS likes and dislikes of the cameraa I used … the Hasselbald X2D.

🎬 𝐂𝐎𝐍𝐓𝐄𝐍𝐓𝐒 𝐎𝐅 𝐓𝐇𝐈𝐒 𝐕𝐈𝐃𝐄𝐎

00:00 - Introduction
01:21 - Hasselbald X2D
05:29 - Things I didn't like
11:11 - Lighting the Portrait
15:18 - Lightroom
20:33 - Remove Tool ( Photoshop )
25:10 - Dust & Scratches ( Clean Glasses )
30:42 - Even-Out Skin Tones
36:12 - The 20/10 Technique
39:17 - Dreamy Glow
42:34 - Presets in Lightroom
44:45 - Di Edwards Sees her Portrait
47:19 - Questions